How to get great-sounding vocals Using Thickify - FL Studio Tutorial
In this article, you will learn how to get great-sounding vocals using Thickify for multiband saturation and tone control. This method is easy to implement and gives better control over the tone, harmonics, color, and overall energy of the sound.
The Principle behind the method
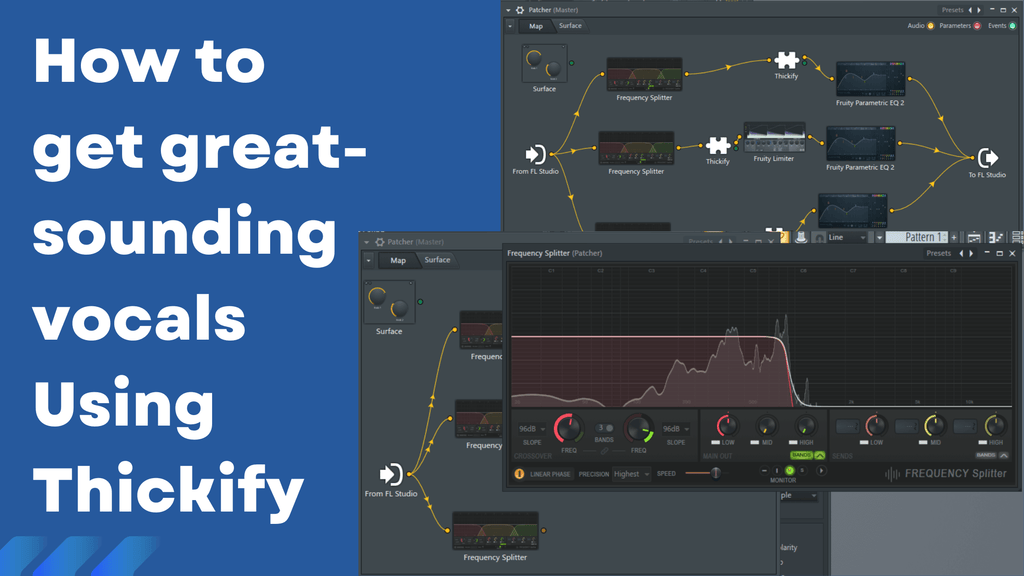
In order to enhance the vocals, we will use a multiband splitter with Thickify. The reason why this method works great is because of the additional Stress and Tone controls of the plugin. These additional features can be used to tame the harsh frequencies, add harmonics to the top end, and enhance the fundamentals. Apart from this, you will also get control over each band level. Here is an example of the effect chain...
In our example, we will use FL Studio Patcher, Thickify, Parametric EQ, and FL Studio Limiter for this method. However, you can implement it in any DAW.
How to Get Great Sounding vocals, Step-by-Step Guide
Step 1 - Load FL Studio Patcher, Add 3 clones of Frequency splitter. This step is to split the vocal frequency into 3 bands. The first band has frequencies around the fundamentals, the middle band covers the timbre body of vocals, and the 3rd band is for air/top harmonics. Set it by ear. For the first band, use the linear phase option to prevent possible phase cancelation.

Step 2 - Connect each band with Thickify, we will use different settings on each band to get different saturation and tone.
1st/Low Band - For the low band that includes fundamental and the first few frequencies, we will use moderate stress, low drive, and moderate thickness. Add a little bit of tone. Set the oversampling rate to 4X as well. This setting will enhance the weight of the sound. After thickify, add an EQ to filter out extra low harmonics to get clear sound.

2nd/Mid Band - For the mid-band, our goal is to clean up the excessive harshness while at the same time taming the dynamics. The tone function plays a huge role in this. We will use moderate stress, low drive, and low thickness. The tone will be low (0-30%).

This setting will be followed by a gentle compression to tame the initial peaks. The combination will remove the harshness of the vocals while adding a little color to the timbre.
3rd/High Band - We will use saturation to increase the presence of the vocals. The setting for the high band will be Moderate Stress, Low Drive, and High Thickness. At the same time, keep the tone at 5 to 30%.

This setting will add pressure to the sound while controlling the excessive harmonics. Make sure to add a High pass filter to remove extra harmonics.
Step 4 - Send all the main output back to FL Studio audio output. You can also add additional effects, processings, and control the level of each band.

The Takeaway
These were the simple steps to add multiband saturation using Thickify and FL Studio frequency splitter. The method will give you more control over the tone, harmonic content, distortion, and level of the vocals. Thanks for reading!